Reviving a dead website 13 years later, with Rails and Docker
living my childhood again using internet magic
Back in the good old days, when I was still a wee babe in the programming world, I operated a 4chan-style imageboard called SSchan. It was a hacked-together project in Ruby on Rails and a precious source of entertainment for me and my buddies. This website had been long forgotten for 13 years, but today, in 2024, I was able to bring it back from the dead. See it yourself at: https://railschan.onrender.com/posts!
With the power of Docker, this Rails 3 app runs almost as if it were as good as new on my 2023-era Macbook M3. I deployed it remotely using Render, and to my surprise… it’s alive and working well! Here’s the step-by-step process of how I did it:
1. Look up the Ruby and Rails versions based on the Gemfile.
Gemfile:
source 'http://rubygems.org'

gem 'rails', '3.0.8'

gem 'aws-s3'
gem 'aws-sdk'
gem 'sqlite3', :require => 'sqlite3'
gem 'devise'

# ...

end
Taking a look at the Gemfile, I saw that the Rails version was 3.0.8. I did some cursory searches on Google and saw that Ruby 1.9.3 might work, so I decided to give it a try.
2. Get it working locally with Docker
Just for fun, I tried installing Ruby 1.9.3 on my local computer, but that proved to be impossible. So, I had to dockerize the app to get it running locally. I asked GPT-4 to help me make a Dockerfile that would work for this use case:
# Use the official Ruby 1.9.3 image as the base
FROM ruby:1.9.3

# Set the working directory inside the container
WORKDIR /dockerapp

# Install system dependencies
RUN apt-get update -qq && apt-get install -y \
build-essential \
libpq-dev \
nodejs

# Install Rails 3
RUN gem install rails -v 3.0.8

# Copy the Gemfile and Gemfile.lock from your app to the container
COPY Gemfile Gemfile.lock ./

# Install gem dependencies
RUN bundle install

# Copy the entire app directory to the container
COPY . .

# Precompile assets (if applicable)
RUN rake assets:precompile

# Expose the port on which your Rails app will run (adjust if needed)
EXPOSE 3000

# Set the command to start your Rails app
CMD ["rails", "server", "-b", "0.0.0.0"]
Unfortunately, the generated Dockerfiles all depended on old versions of Debian that aren’t supported anymore, and fetching them was highly inconvenient even with various suggested edits. Instead, I found a benefactor, a company called Corgibytes, who uploaded an image to Dockerhub that exactly fit my use case: https://hub.docker.com/r/corgibytes/ruby-1.9.3.
After plugging in their image, running `docker build` and `docker run`, I was able to get my website working again locally, almost like magic.
The only problem is that the Dockerized rails app needs to have a persistent volume attached to it if you want test data to be preserved between builds. So I added some lines related to that.
The new Dockerfile looked like this:
# https://github.com/corgibytes/ruby_193_docker
FROM corgibytes/ruby-1.9.3:1.0.1

# Set the working directory inside the container
RUN mkdir /app

WORKDIR /app

# Install Rails 3
RUN gem install rails -v 3.0.8

# Create a new user and switch to it
RUN useradd -ms /bin/bash appuser

# Set ownership and permissions for the app directory
RUN chown -R appuser:appuser /app && \
chmod -R u+rwX /app

# Change ownership of the /usr/local/bundle directory
RUN chown -R appuser:appuser /usr/local/bundle

# Switch to the appuser
USER appuser

# Create the necessary directories with the correct permissions
RUN mkdir -p /home/appuser/.gem/ruby/1.9.1/cache && \
chown -R appuser:appuser /home/appuser/.gem

# Copy the entire app directory to the container
COPY --chown=appuser:appuser . .

# Install gem dependencies
RUN bundle install

# Create a volume for the database
VOLUME /app/db

# Expose the port on which your Rails app will run (adjust if needed)
EXPOSE 3000

# Set the command to start your Rails app
CMD ["rails", "server", "-b", "0.0.0.0"]
And the command I executed was:
docker build -t railschan . && docker run --name railschan -p 3000:3000 -v "$(pwd)/.docker/db:/app/db" --rm railschan3. Deploy it remotely with Render
Now that it was working locally, the next step was getting it available on the public internet. I was already using Render as a cloud hosting service due to their free tier, and they made it quite easy for me to connect my newly-dockerized Rails app as a web service.
I made sure to choose “Docker” as the runtime, since I didn’t want to bother with legacy Rails installations on the Render server.
Press click, wait for it to build, and … that’s it! You have code from 2011 running on the public internet, today.
Deploying to Render was very easy. I was astounded that so much of it worked without much additional configuration on my part, although I guess that’s also part of the beauty of dockerization.
4. Enabling DB persistence
Now that the website is running, I wanted to actually have my posts stick around without being deleted. Rails 3 uses SQLite3 by default, and actually, I checked my records and realized that I’d been using SQLite3 in production even back in 2011. It worked very well for my small number of customers – 12 people – and the limited amount of web traffic.
Render also has remote PostgreSQL databases, but these databases run PG 15 which isn’t compatible with whatever ancient version I needed. I hacked at it for hours, trying to get the new software to work on my Rails 3 app (even though I’d never succeeded at it even all those years ago), and I even tried esoteric hacks involving initializer patches, but in the end, it was hopeless. The incompatibility was insurmountable.
Therefore, I decided to just keep it simple and switch back to SQLite3 in production. Since a SQLite3 DB is just a simple file that gets stored on a hard disk, you can just rent a persistent disk from Render and use that for your DB for 25 cents per gigabyte per month.
I updated my database.yml file to reference the absolute path of the new persistent disk and … another breakthrough! It started working, and I was able to have persistent posts on my new (old) website.
Here’s what I added to my database.yaml:
production:
  adapter: sqlite3
  database: /opt/data/production.sqlite3
  pool: 5
  timeout: 5000
I also created an entrypoint.sh to set up the database after the docker image build:
#!/bin/bash
set -e

echo "Setting up the database..."
bundle exec rake db:create db:migrate --trace

exec "$@"
5. Enabling image upload
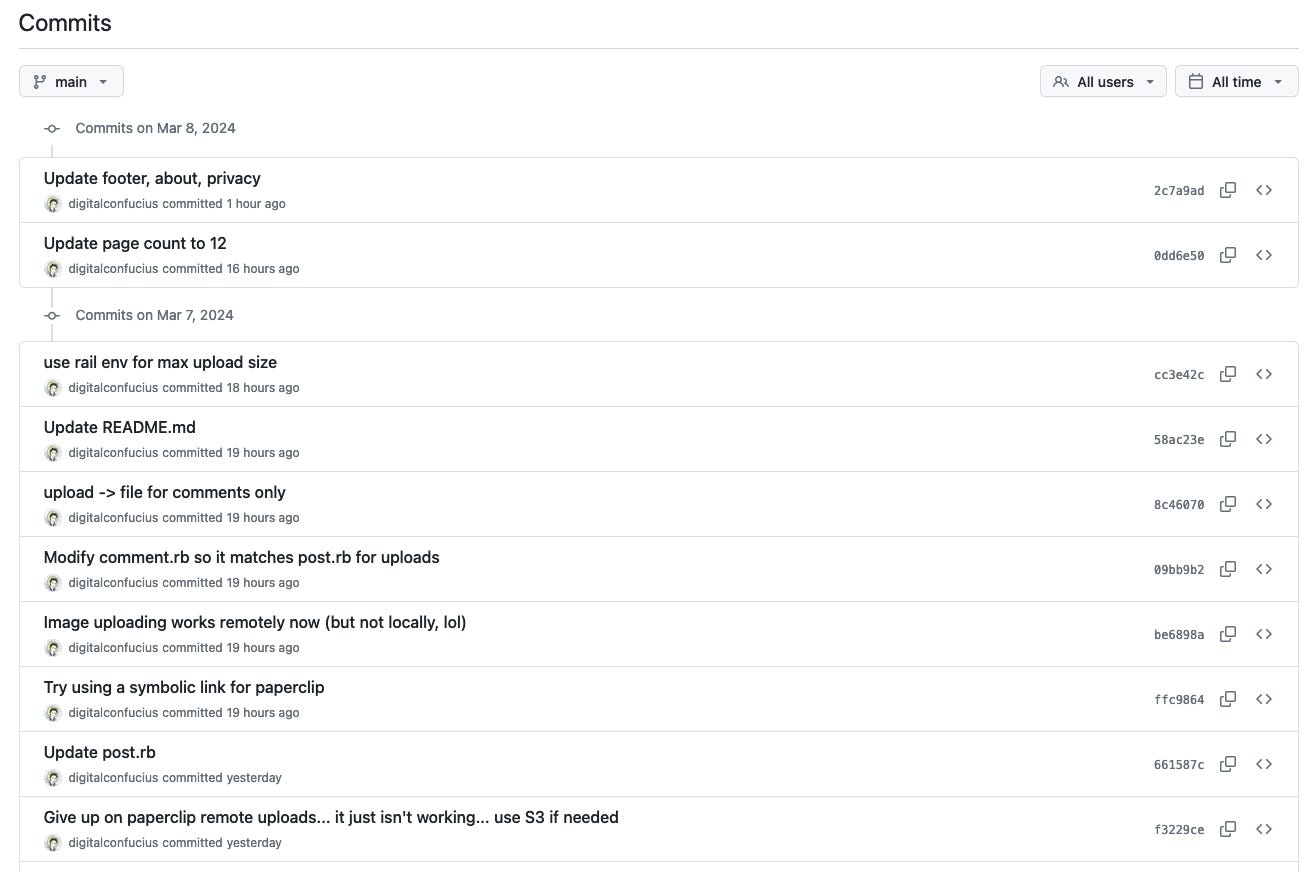
The next part was pretty difficult to debug. Even though DB persistence was working, image upload was not, since Rails 3 Paperclip uploader uses a completely different workflow to optimize static asset serving. After a lot of trial and error, including many misleading AI responses that didn’t work for my specific use case, Claude 3 Opus suggested using symbolic links in my Dockerfile so that my Rails app would use the persistent disk mount path for static asset serving. It worked!
# Create a symbolic link for paperclip uploads

RUN rm -rf public/system && ln -s /opt/data public/system
This was super exciting to me because even back in 2011, I had never figured out a decent way to get conventional image uploads working in Rails. Instead, I had used AWS S3, and user-uploaded images would exist on a different URL and also couldn’t be easily deleted if the user decided to remove the corresponding post.
Now, I had images working on the same host as the website itself, was able to leverage the same 4 GB persistent disk that was holding my SQLite data, and deleting a post would also automatically delete its associated images.
6. Adding new features
While working on this project and diving through my old code, I couldn’t help myself but to add some new luxury features: enable anonymous posting without registration, fix the mobile interface so it isn’t completely broken, using environmental configs to manage max upload size rather than hardcoding it… In the end, I wrote quite a decent amount of new Rails 3 code. Is there anyone out here who’s hiring legacy Rails devs? :)
Conclusion
We live in a world where code gets rotten easily and old URLs point to long-deceased broken websites. Even so, dependency management and docker containers made it possible for me to relive the days of my youth by exactly installing the same packages as I’d used years ago. I’d previously worked before with Docker at my corporate job, but that was mostly edits to existing configs and not creating something from scratch. ChatGPT has made side project hacking so much easier by generating the initial skeletons, so that I can simply focus on small modifications and executing on the project. Now that I know that such things are possible, I’m definitely going to keep trying this out on any other “ancient” code that I find, and I hope that you give it a try too.
If you like this article, consider following my Twitter account @DigiConfucius and subscribing to this newsletter.


